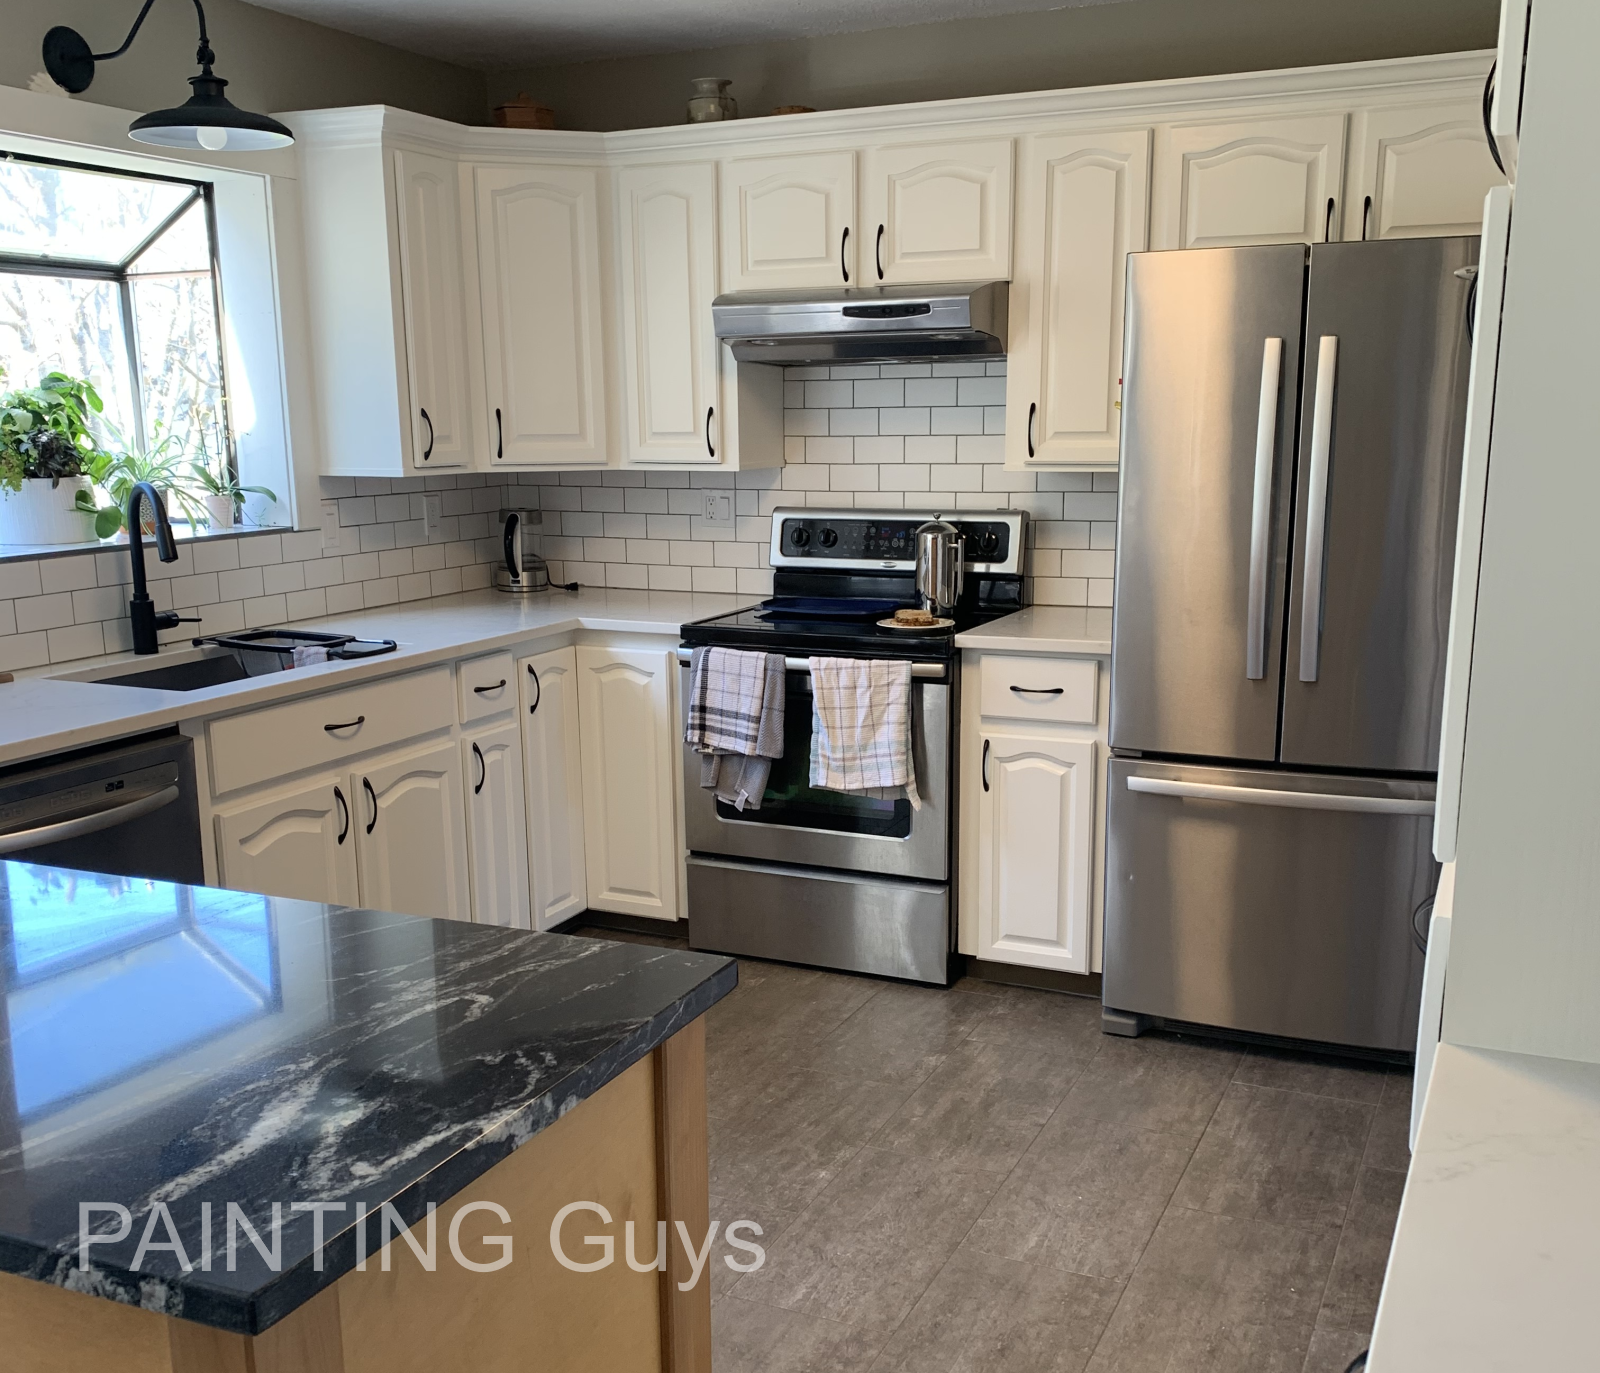
We paint kitchen cabinets to look new again!
Edmonton, Fort McMurray, Lloydminster and all surrounding areas.
Call or text: 780-815-3039
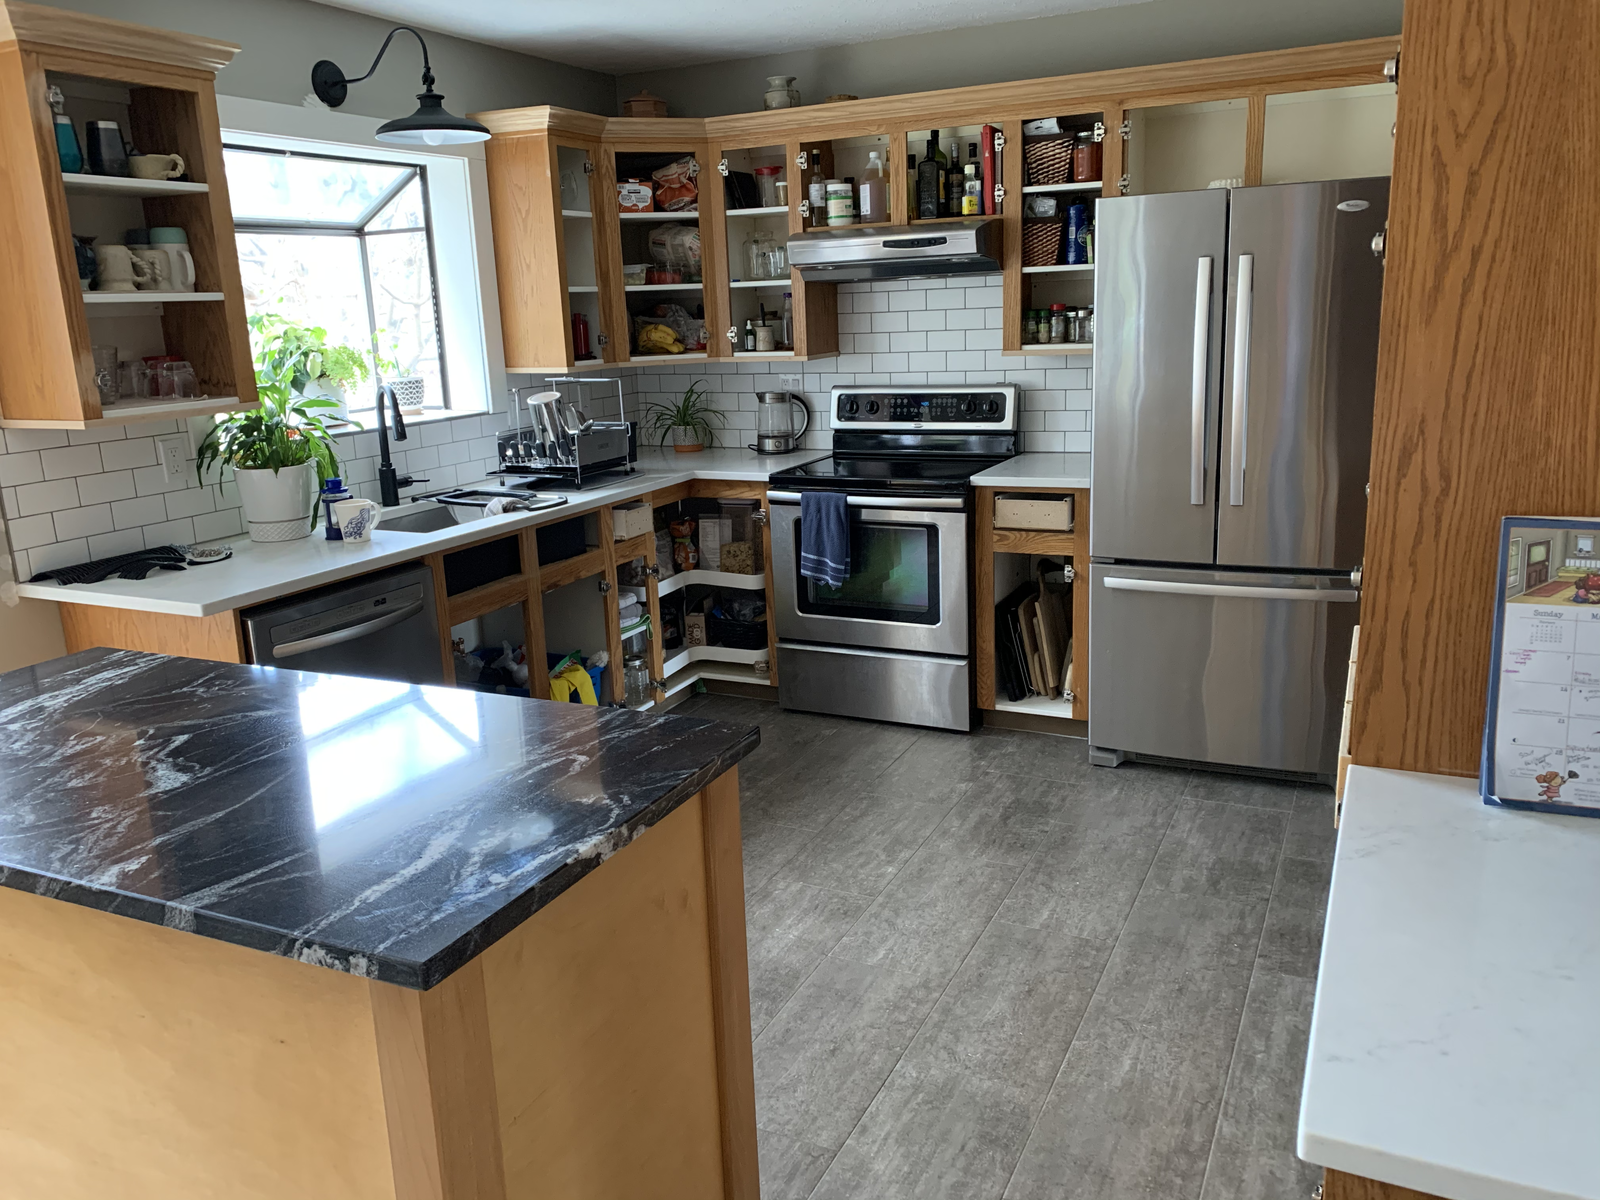
Before & After
Stage 1
- Align doors and drawers before disassembling;
- Remove hardware, label everything;
- Take doors, drawer to our shop to be spray finished;

Stage 2
- Clean, patch, sand and repair;
- Vacuum;
Stage 3
- Prime and undercoat;
- Caulk seams and cracks and allow to cure;
- Sand and prime again where needed;
- Paint everything;
Stage 4
- Reassemble;
- Install new felt bumpers on doors and drawers;
- Finished!
Choosing colours
We use Benjamin Moore paint so you have over 3500 colours to choose from!
If you have a custom colour we can colour match as well.

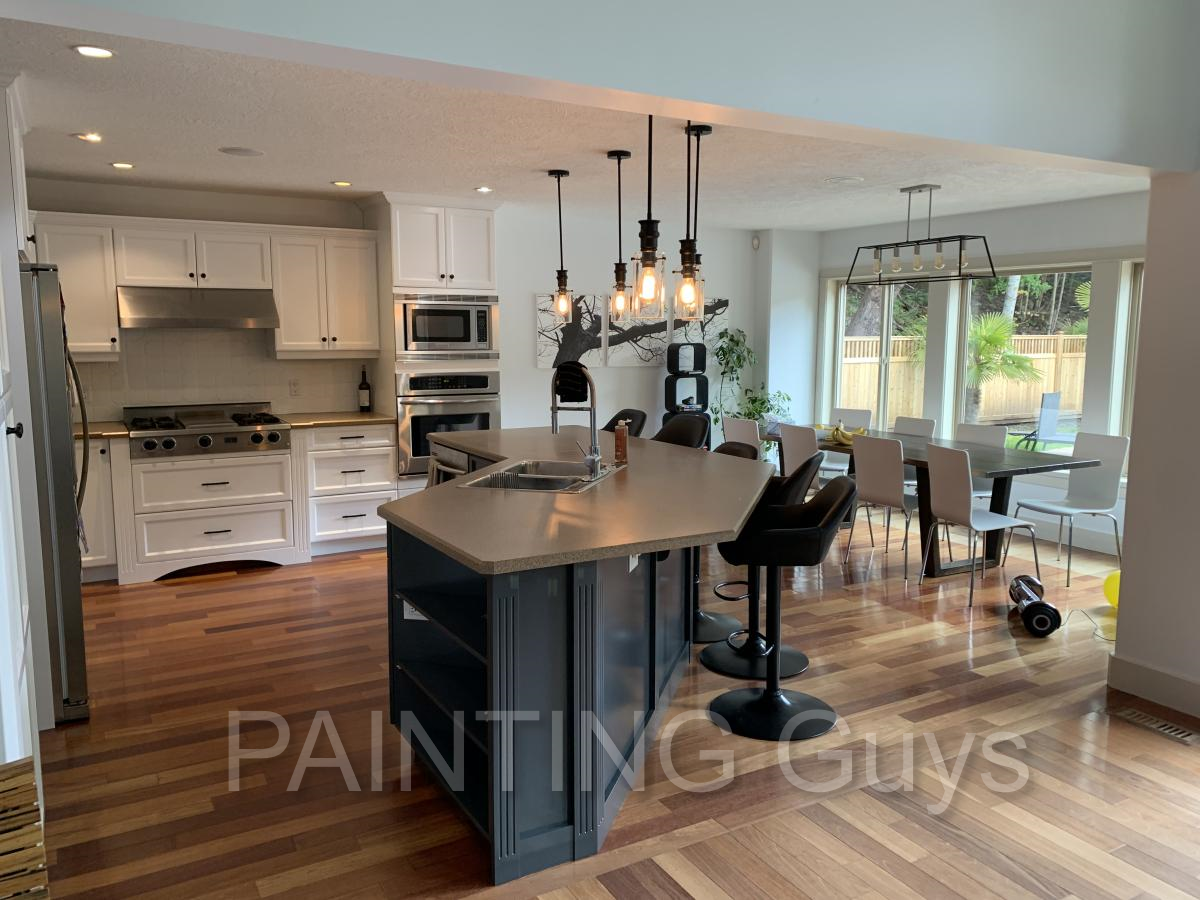
Two-tone cabinets
Larger kitchens with islands can benefit in a big way from two-tone cabinet designs.
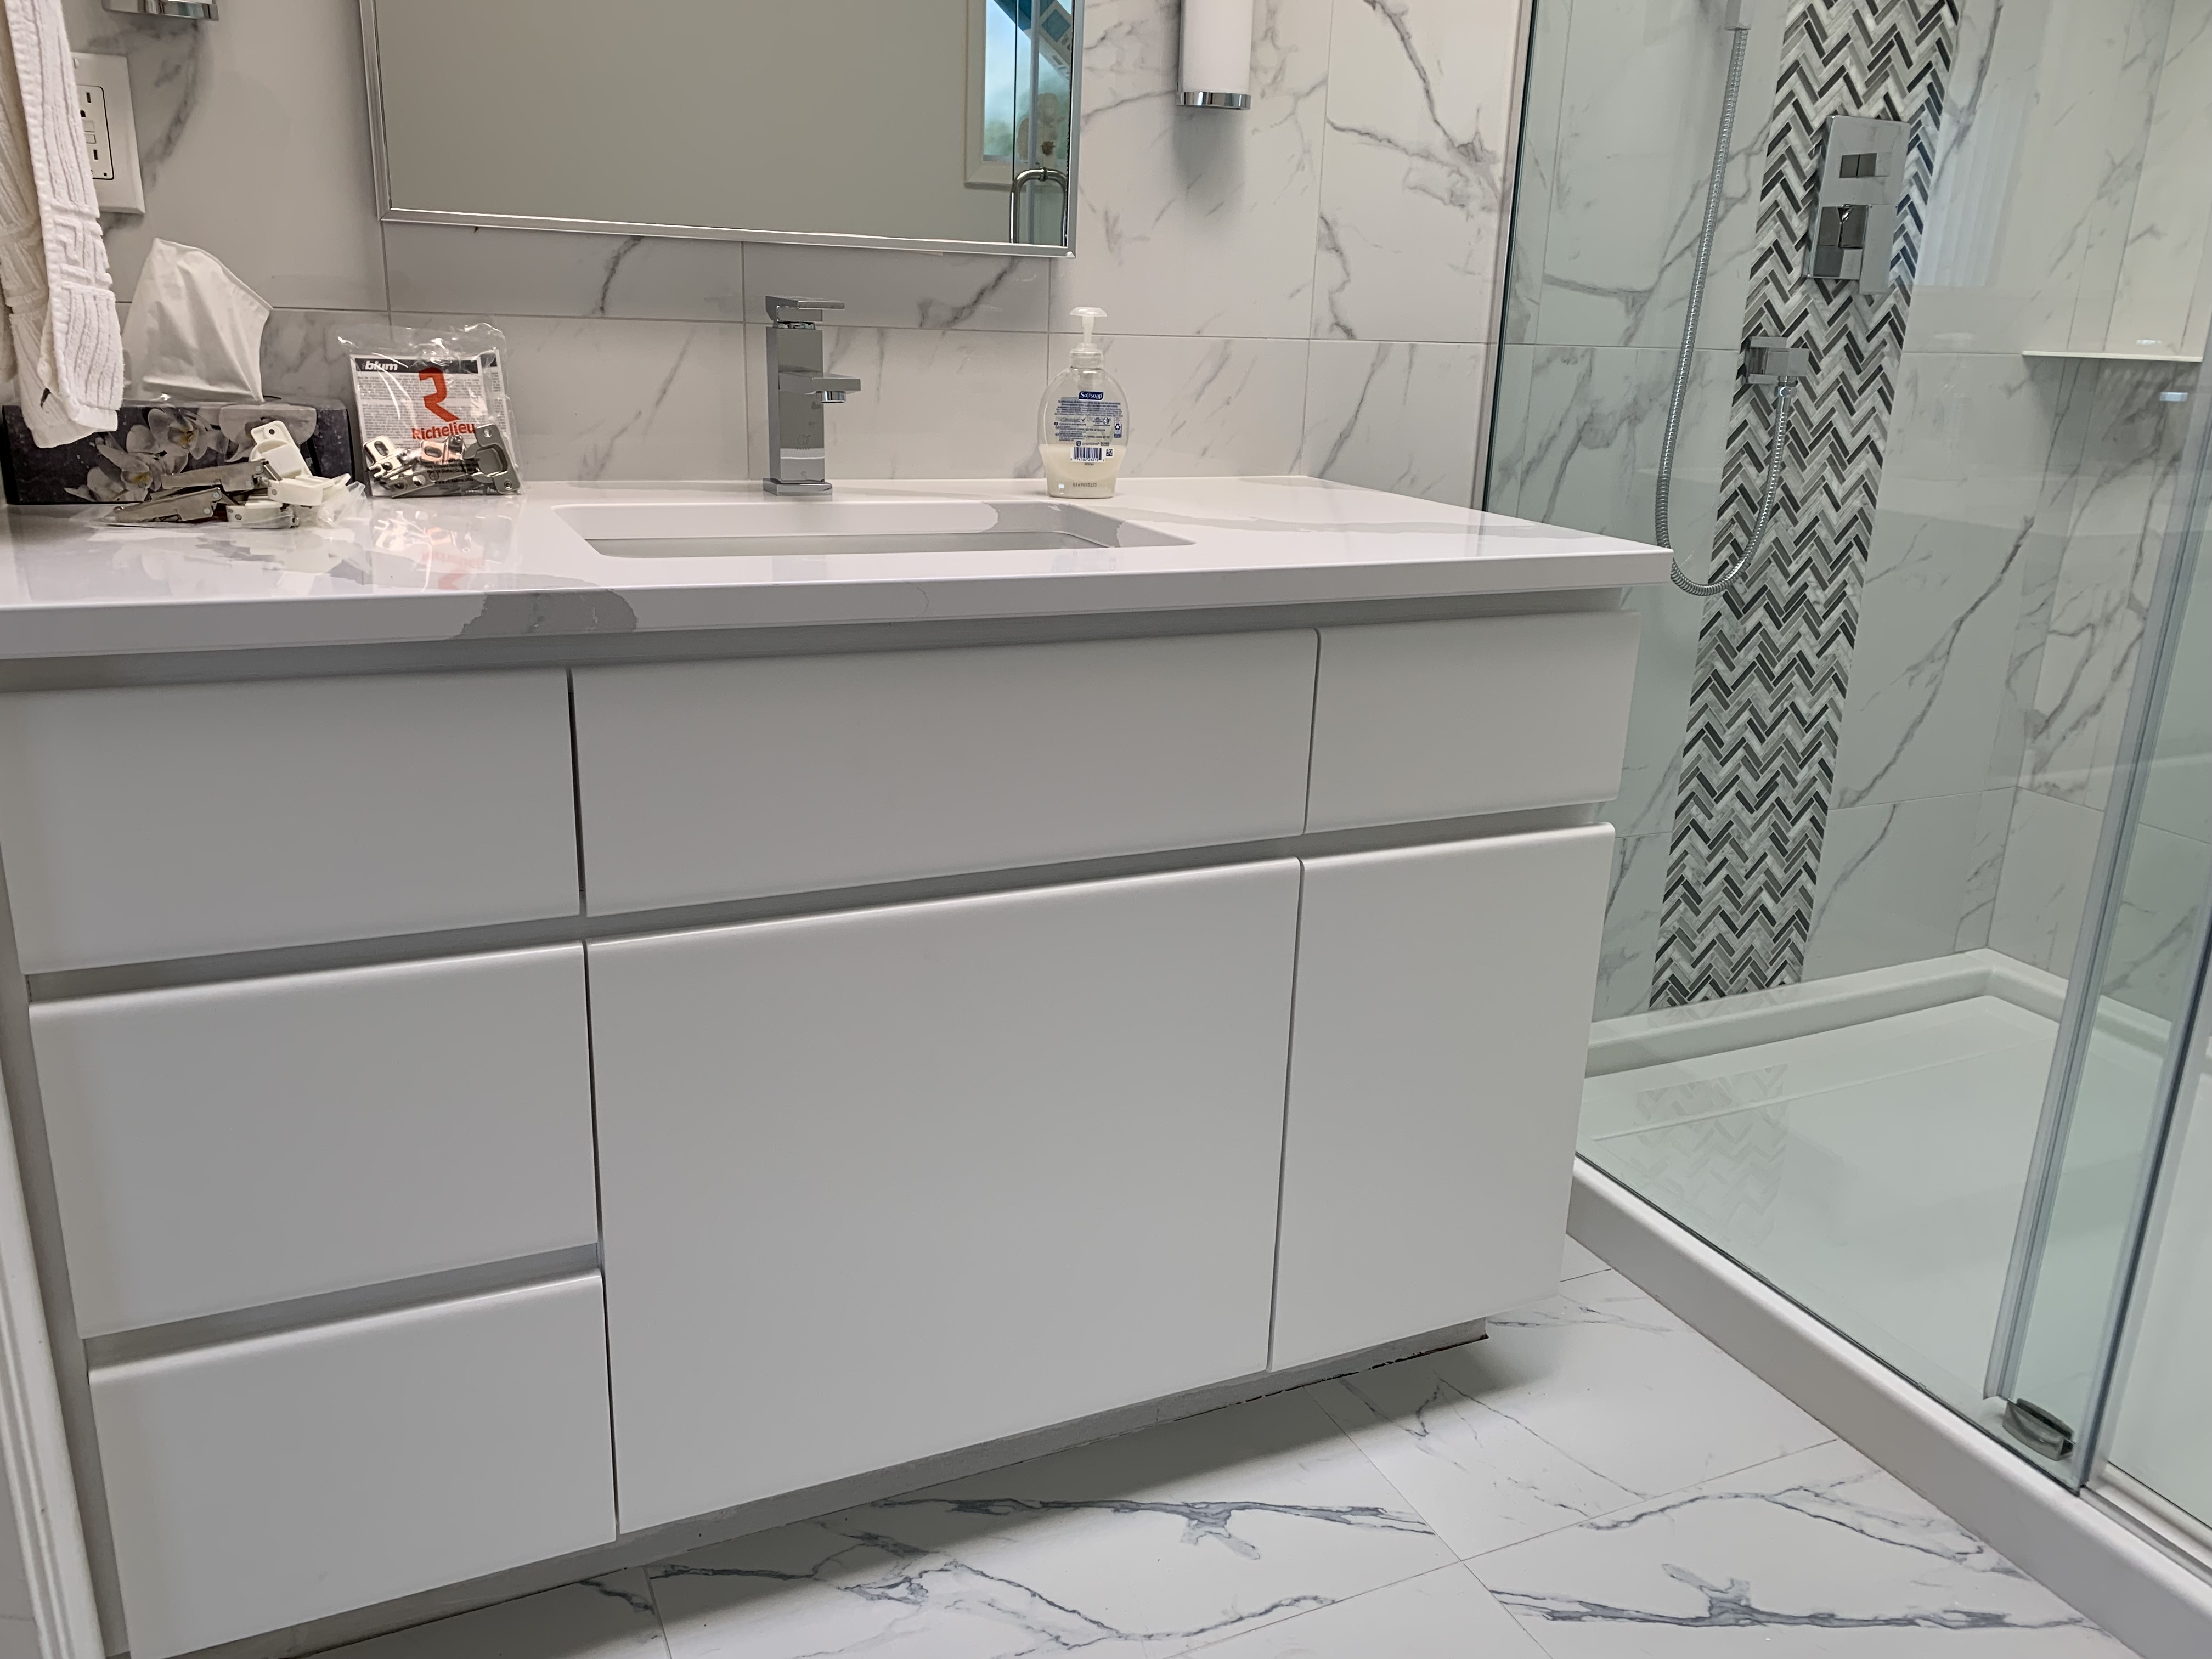
Paint vanities, bookcases, mantles and more!
We often paint bathroom vanities, built-in cabinets, laundry room cupboards, bookshelves, pantries and even fireplace mantels. This can be a huge savings if you choose to have everything done at the same time.


Paint bathroom vanities
The average cost to include bathroom vanities are between $350.00 to $700.00
Painting open cupboards and shelves
Most cupboards are laminated with a durable surface so it's not necessary to paint inside them. However, if they are open shelves or behind glass doors, we paint the inside of those cupboards as well.

How we paint kitchen cabinets to look so beautiful
Our Process
- Align doors and drawers before disassembling;
- Remove hardware, label doors, drawer and take to our shop;
- Clean, sand patch and repair
- Vacuum;
- Prime and undercoat
- Caulk seams and cracks and allow to cure;
- Sand and prime again where needed;
- Paint kitchen cabinets;
- Reassemble;
- Install new felt bumpers on doors and drawers
Our process begins with cleaning, sanding and removing old finishes, including shellac, lacquer & varnish down to clean wood.
Spray painting the cabinet doors and drawers
The most important step in kitchen cabinet refinishing revolves all around how well the doors and drawers are refinished. When they are smooth, they not only look good but they will also stay cleaner if they are smooth.
Cleaning and degreasing
DO NOT use Trisodium phosphate (TSP) heavy-duty degreaser as a substitute for cleaning or sanding. TSP will cause a chemical incompatibility issue with primers. Always read the labels before you use the product.
If you are washing cabinets before priming do not get excessive amount of water between the gaps and seams of the the doors and drawer because water will cause swelling and expansion.
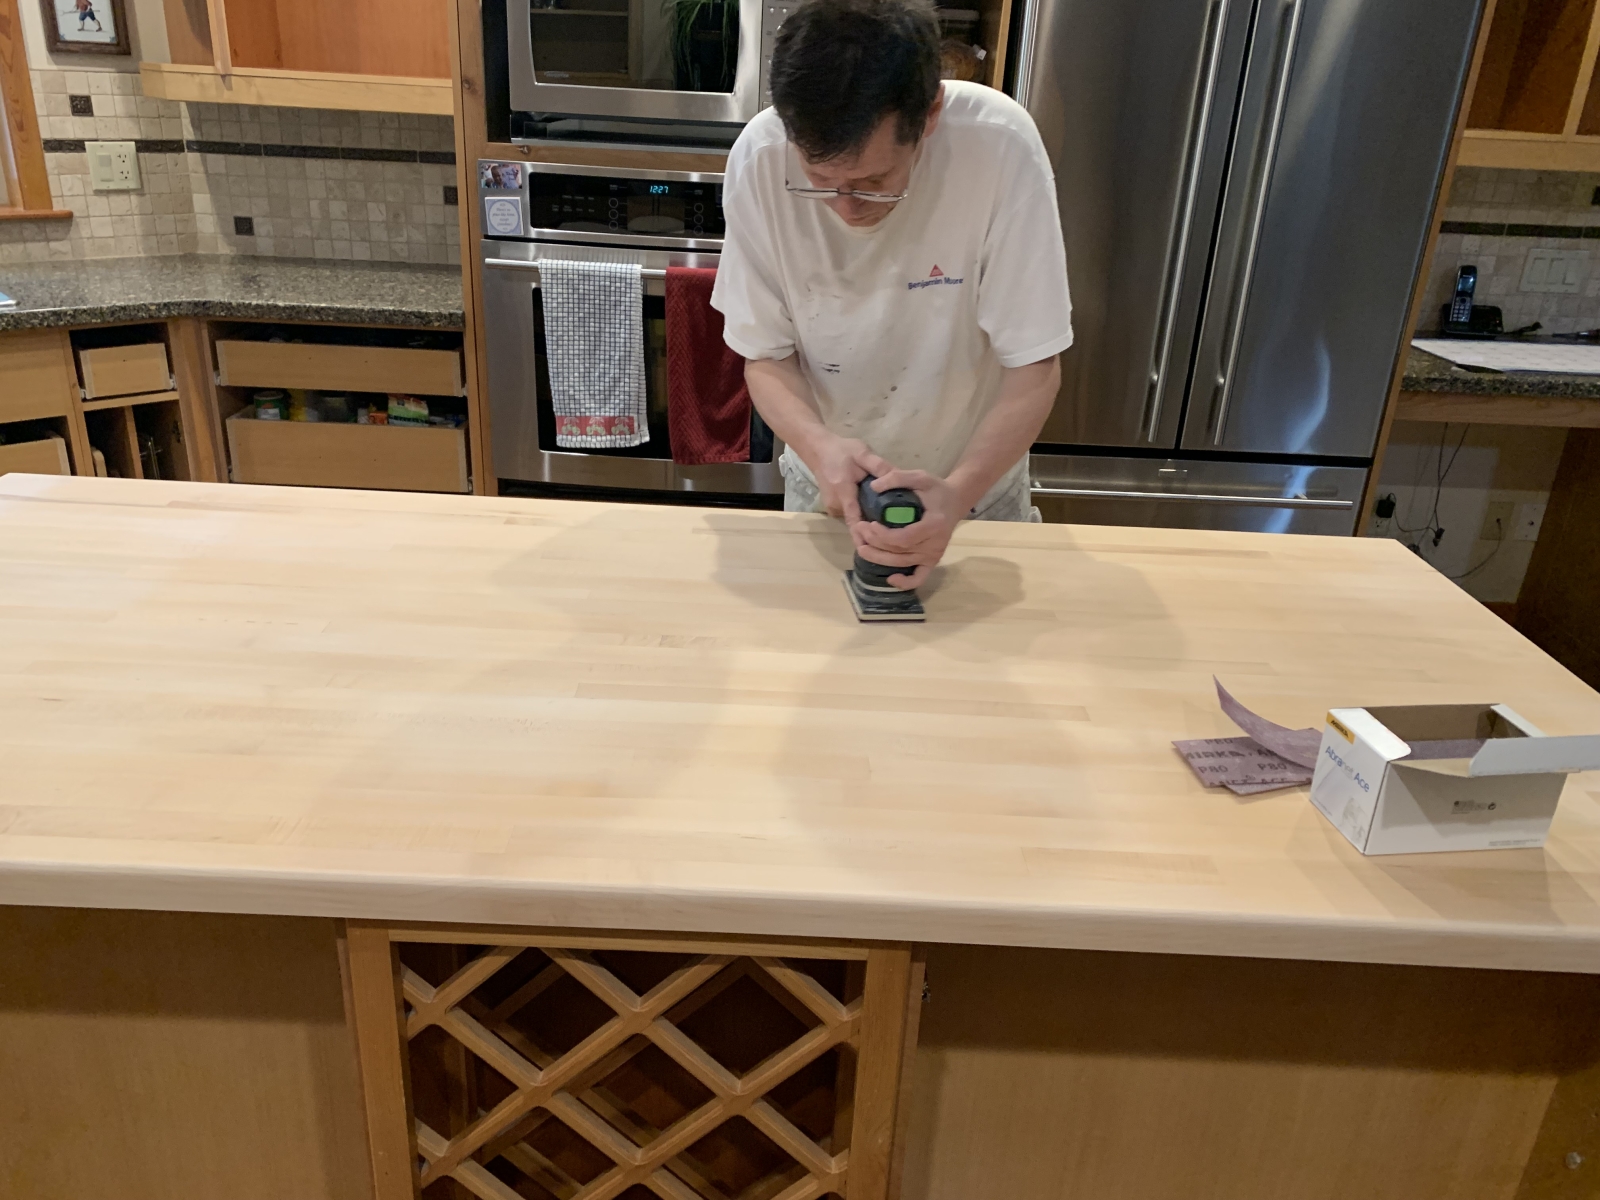
The best way to remove grease from cabinets is with a scraper. Once grease is removed we recommend sanding with Festool products and their air extraction systems.
Sanding
When it comes to refinishing older kitchen cabinets, if you do not sand everything properly, the finish will not only look cheap but it can also scratch or peel much easier. Sanding the old finish down to clean wood, patching dents and fixing cracks is how to properly refinish cabinets to look like new again!
This process is particularly important when refinishing darker stained cabinets to a lighter colour and shade of white.
Sanding is the nasty part of cabinet refinishing and there is no fast and cheap way to do it without compromising the end result. Refinishing the doors and drawers requires about a week to sand, clean, patch and allow the spray finish to set and cure properly before reassembling back in the home.
Dealing with dust
We use Festool hepa filter vacuum sanders and their world class air extraction system on-location and in our shop. Our process is very clean.
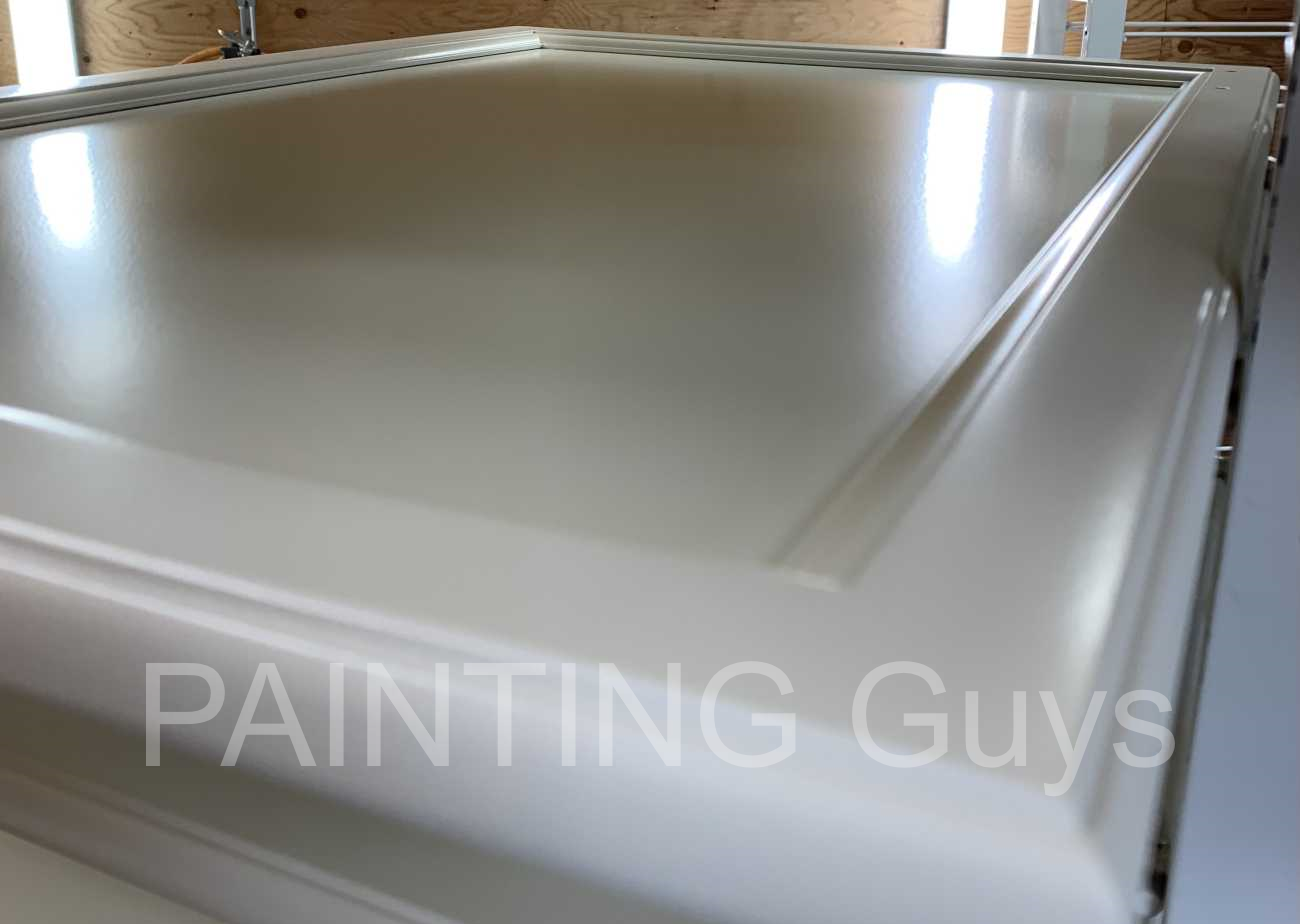
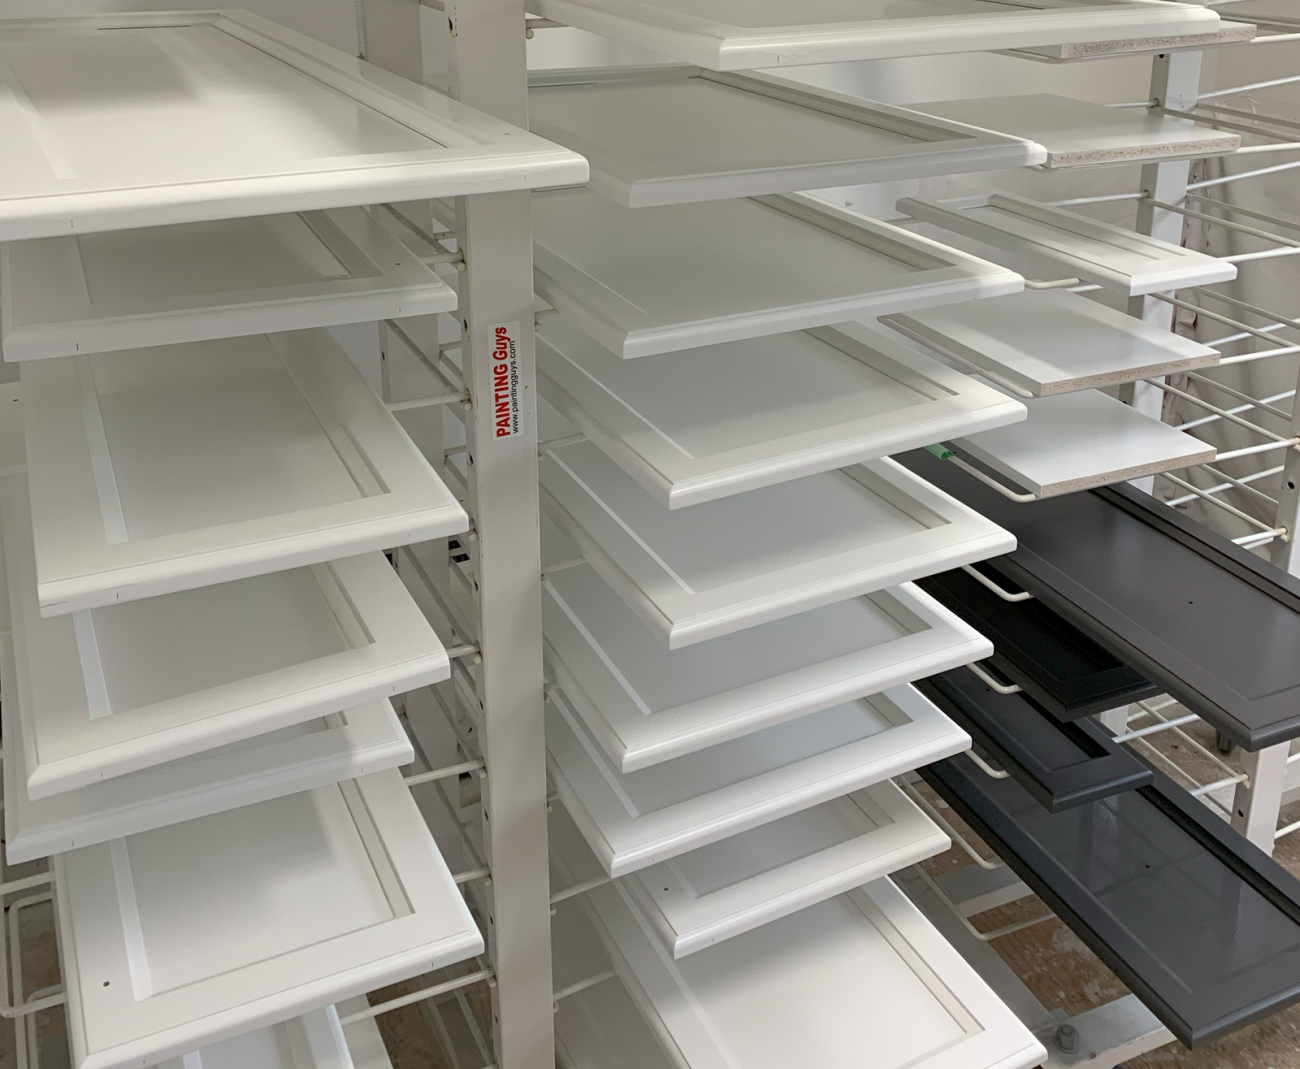
Drying racks!
Freshly spray-painted doors and drawers that are placed on drying racks in a vented dust-free environment ensure a satin smooth finish every time!
Painting the exterior boxes
The exterior sections of the kitchen cabinets, which include the face frames, any exposed cupboards, shelving, crowns, valances, gable ends, kick plates are always done by hand before finish coating.
These sections are cleaned, sanded, sealed and undercoated in place so they do not expose old stain, bleed or any gaps around the walls and ceiling. This is why you do not remove these section and why you take the time to allow everything to cure.
Other than having cabinets without the doors and drawer fronts on them, you are able to use your kitchen throughout our entire process and you do not have to empty the cupboards!
Painting crowns, valances and trim
When the goal is to repaint any previously stained cabinet "to look new again", do not remove crowns, valances or any trim that will show old stain between cracks, joints and seams. Sealing everything in tack is how you do it and always use high-quality paint-able products that do not shrink at different cure speeds of the top coat.
Always allow everything time to cure before finish coating. You do not want anything to crack open 12 months down the road.
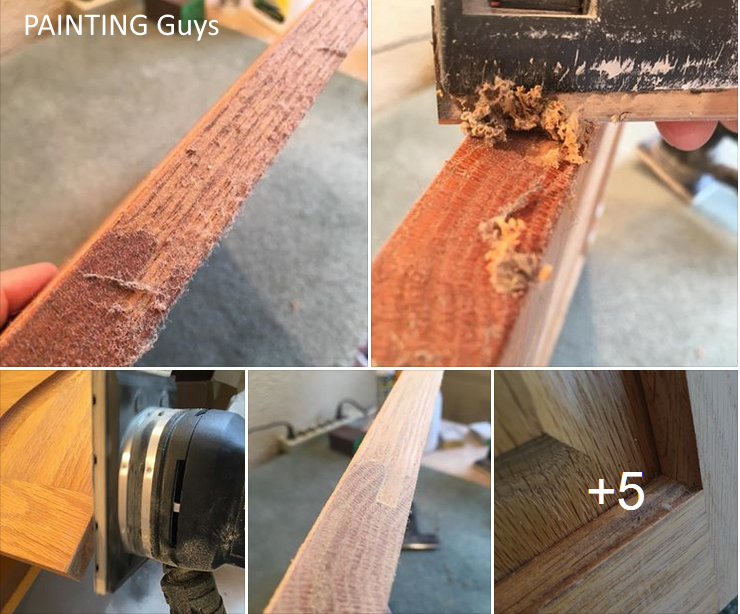
Quality vs Speed
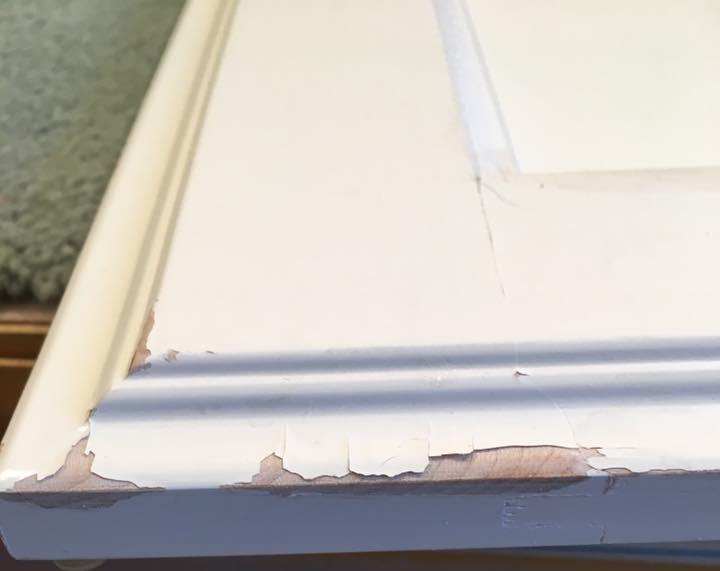
We do not use chemical based products to speed up the drying and curing process (formulate the coatings). Quick dry chemicals tend to be more brittle and problematic to cracking around seams and joints as seen in the example below. This is why we take time to prep and refinish cabinets properly using latex and acrylic based products. The down side is these products take a few days to cure between our steps but in the long run these products also stands the test of time, remaining stable which is particularly important in climates that go from very dry conditions to humid, thus expanding and contracting.
Lacquer vs Paint, which is better?
When it comes to refinishing older kitchen cabinets to be painted, which is better to use, lacquer, pre- or post-catalyzed lacquer (epoxy formula) or paint?
Below is an example of why we don’t use pre- or post-catalyzed lacquer (epoxy formula). Example of a pigment lacquer cabinet door finish failing only after a few years. Pre or post-catalyzed lacquer (epoxy formula) fails like the rest of the finishes, especially if they weren’t primed properly.
Prepping for climate and humidity changes
Wood cabinets expand as humidity increases and shrink as humidity decreases.
Most cabinet door and drawer panels are designed to expand and contract throughout seasonal climate changes. This is purposely done to prevent cracking between the profile and the panel. When shrinking happens during the dry seasons the gaps between the panels are purposefully stained so you do not notice any unstained wood from suddenly appearing.
Dealing with stain bleed and climate changes
When you paint over any previously stained cabinet door: example shade of white, to prevent any old stain from becoming noticeable we always prep cabinets in a specific way to prevent old stain from appearing on your newly painted cabinets.
To prevent this from happening, we always clean gaps and seams thoroughly, air blast debris out and then hand brush a flood coat of shellac so it soaks deep into the wood. This method is hands down the very best way to paint kitchen cabinets.
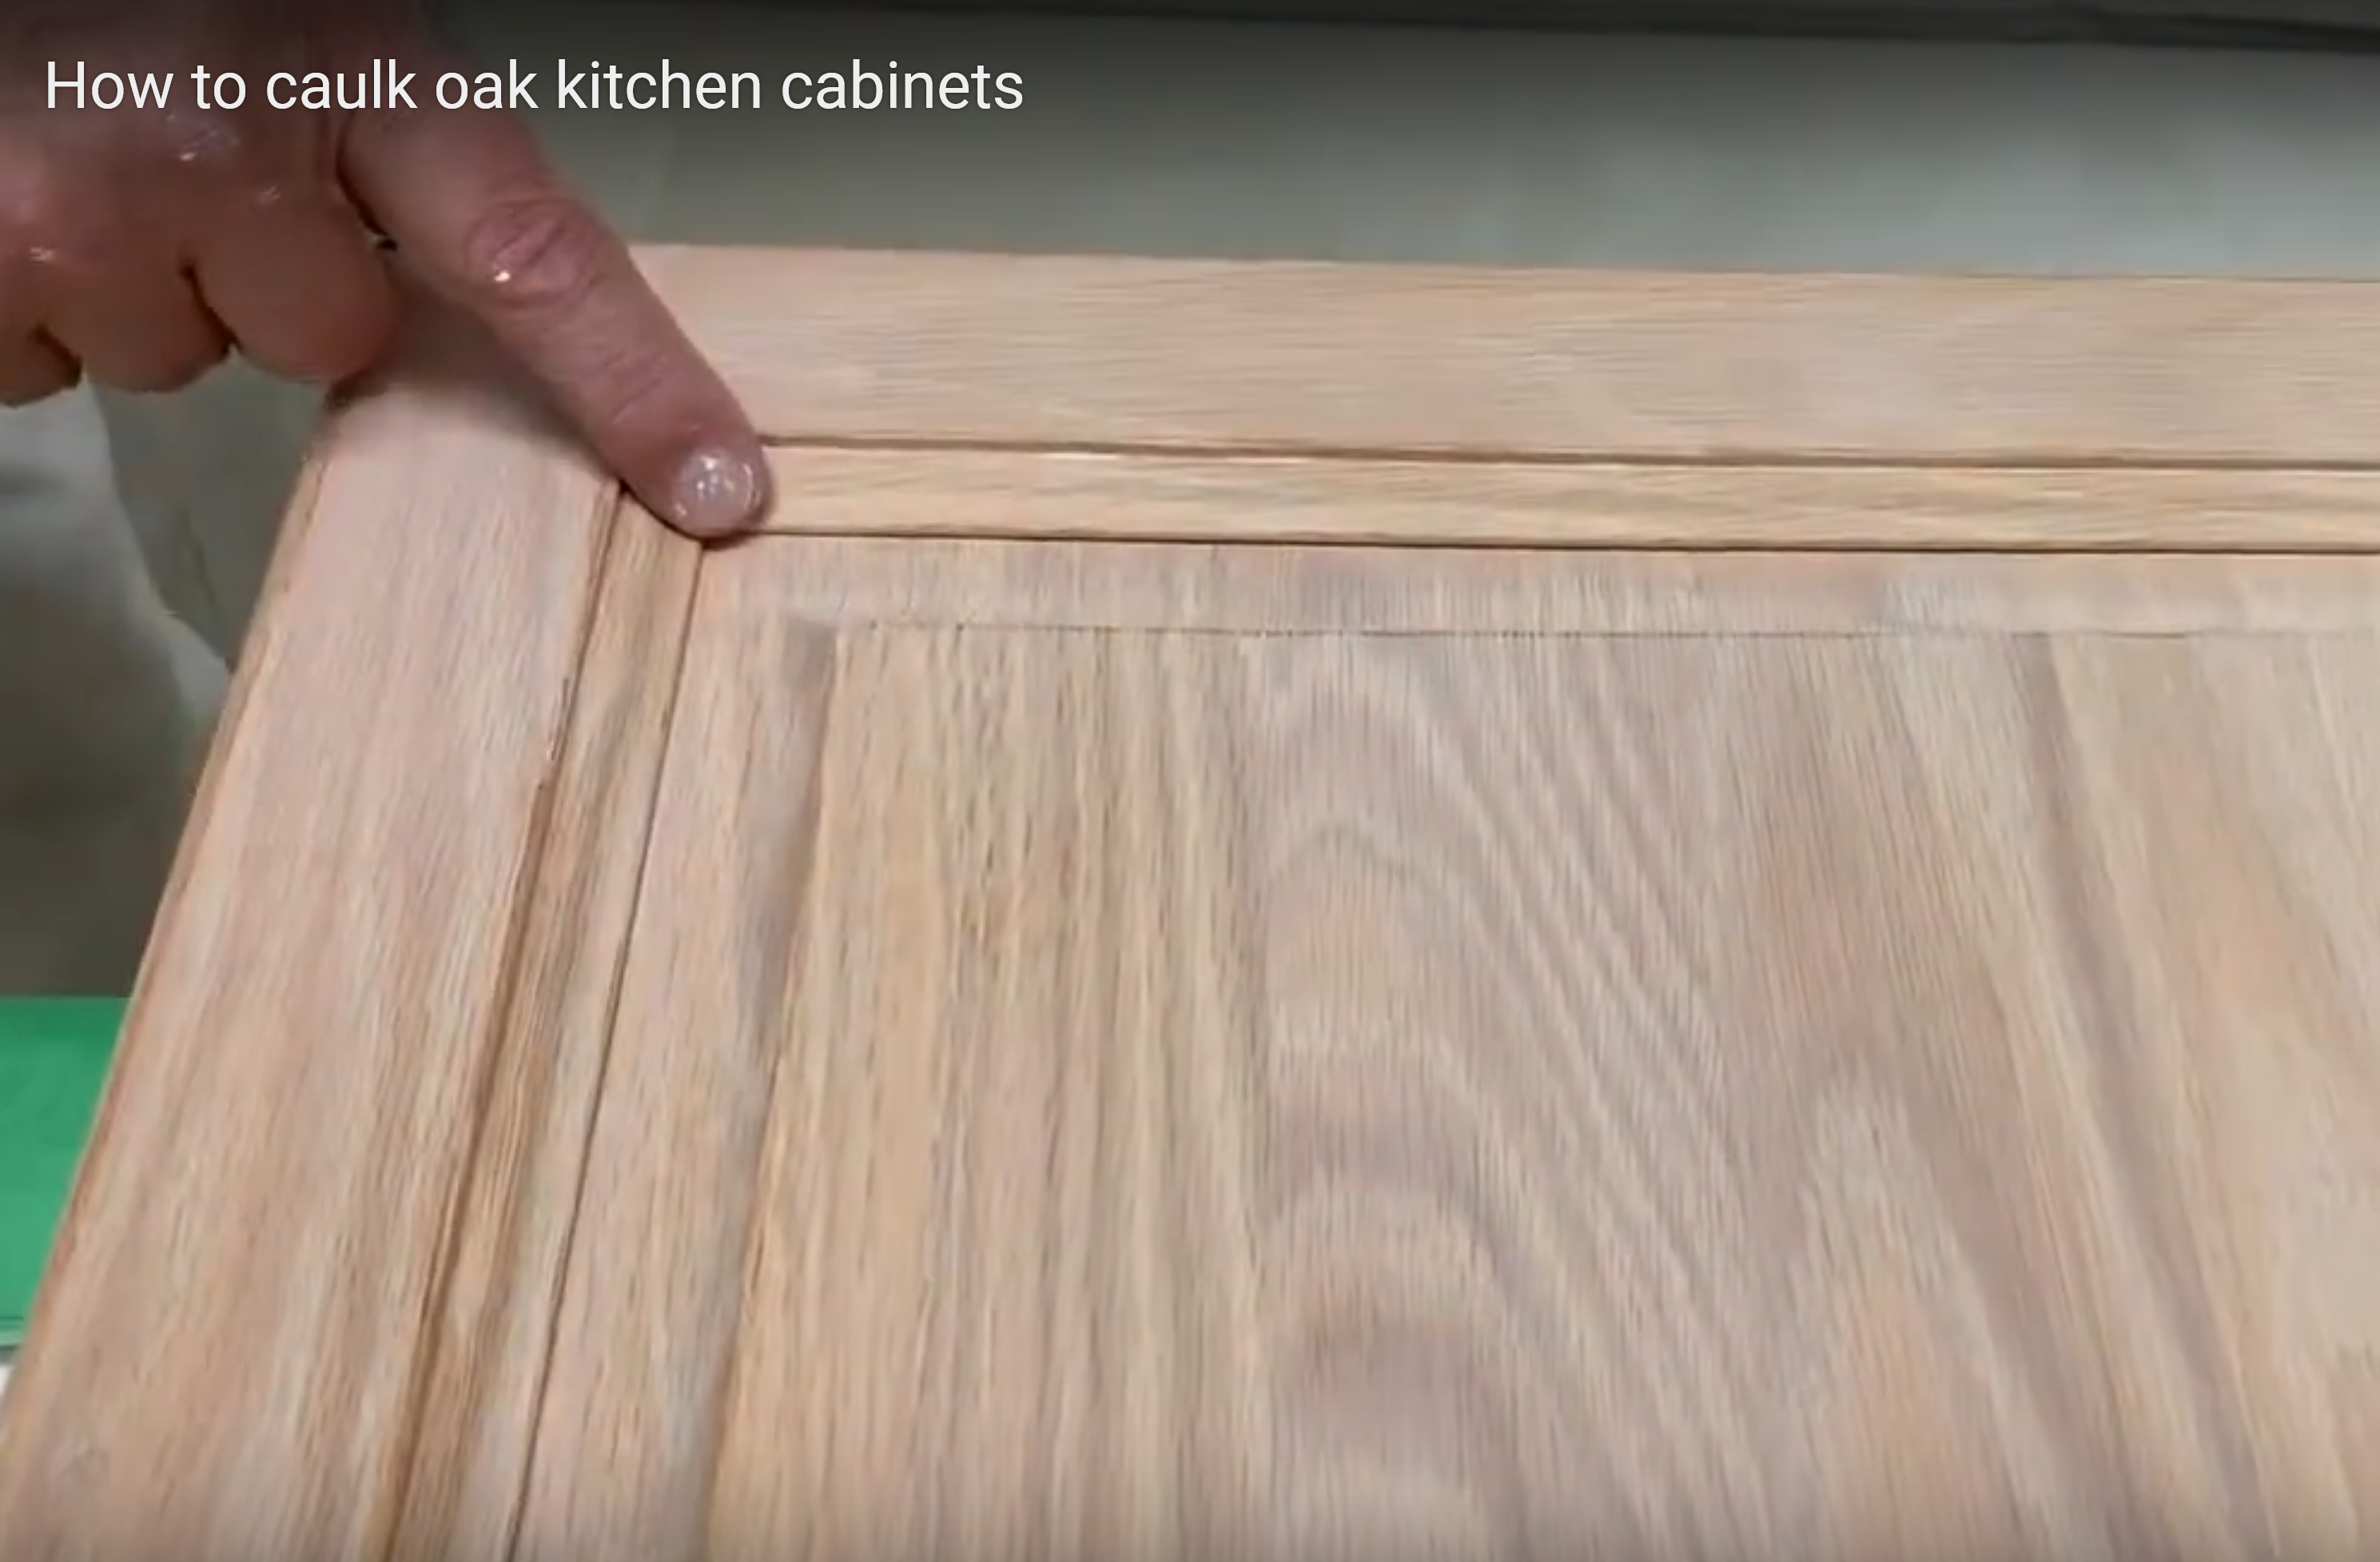
When TO caulk and when NOT to caulk
Sometimes we caulk and other times we do not. Every kitchen is designed and built differently.
Some areas have large gaps, others are built tight but you always need to get primer deep into the gaps. This issues the top coats adheres to to the primer and the primer adheres to the wood. This all prevents cracks exposing old stain.
The better you clean, prep and prime everything, the less chance you will see old stain or any cracks from suddenly exposing old stain from bleeding through.
- To overcome these issues we clean the joints, vacuum out dust then hand paint shellac into these gaps and joints. This process cannot be done with sprayers. It must be done by hand.
- After priming we caulk and acrylic paint because these products expand and contract far better than composites, lacquer or alkyds as these products are prone to cracking over time.
Using products that bond and work together prevents down-the-road warranty problems.
Using products that work together is difference between cheap looking repaints and beautiful long lasting kitchen cabinets that look great for years.
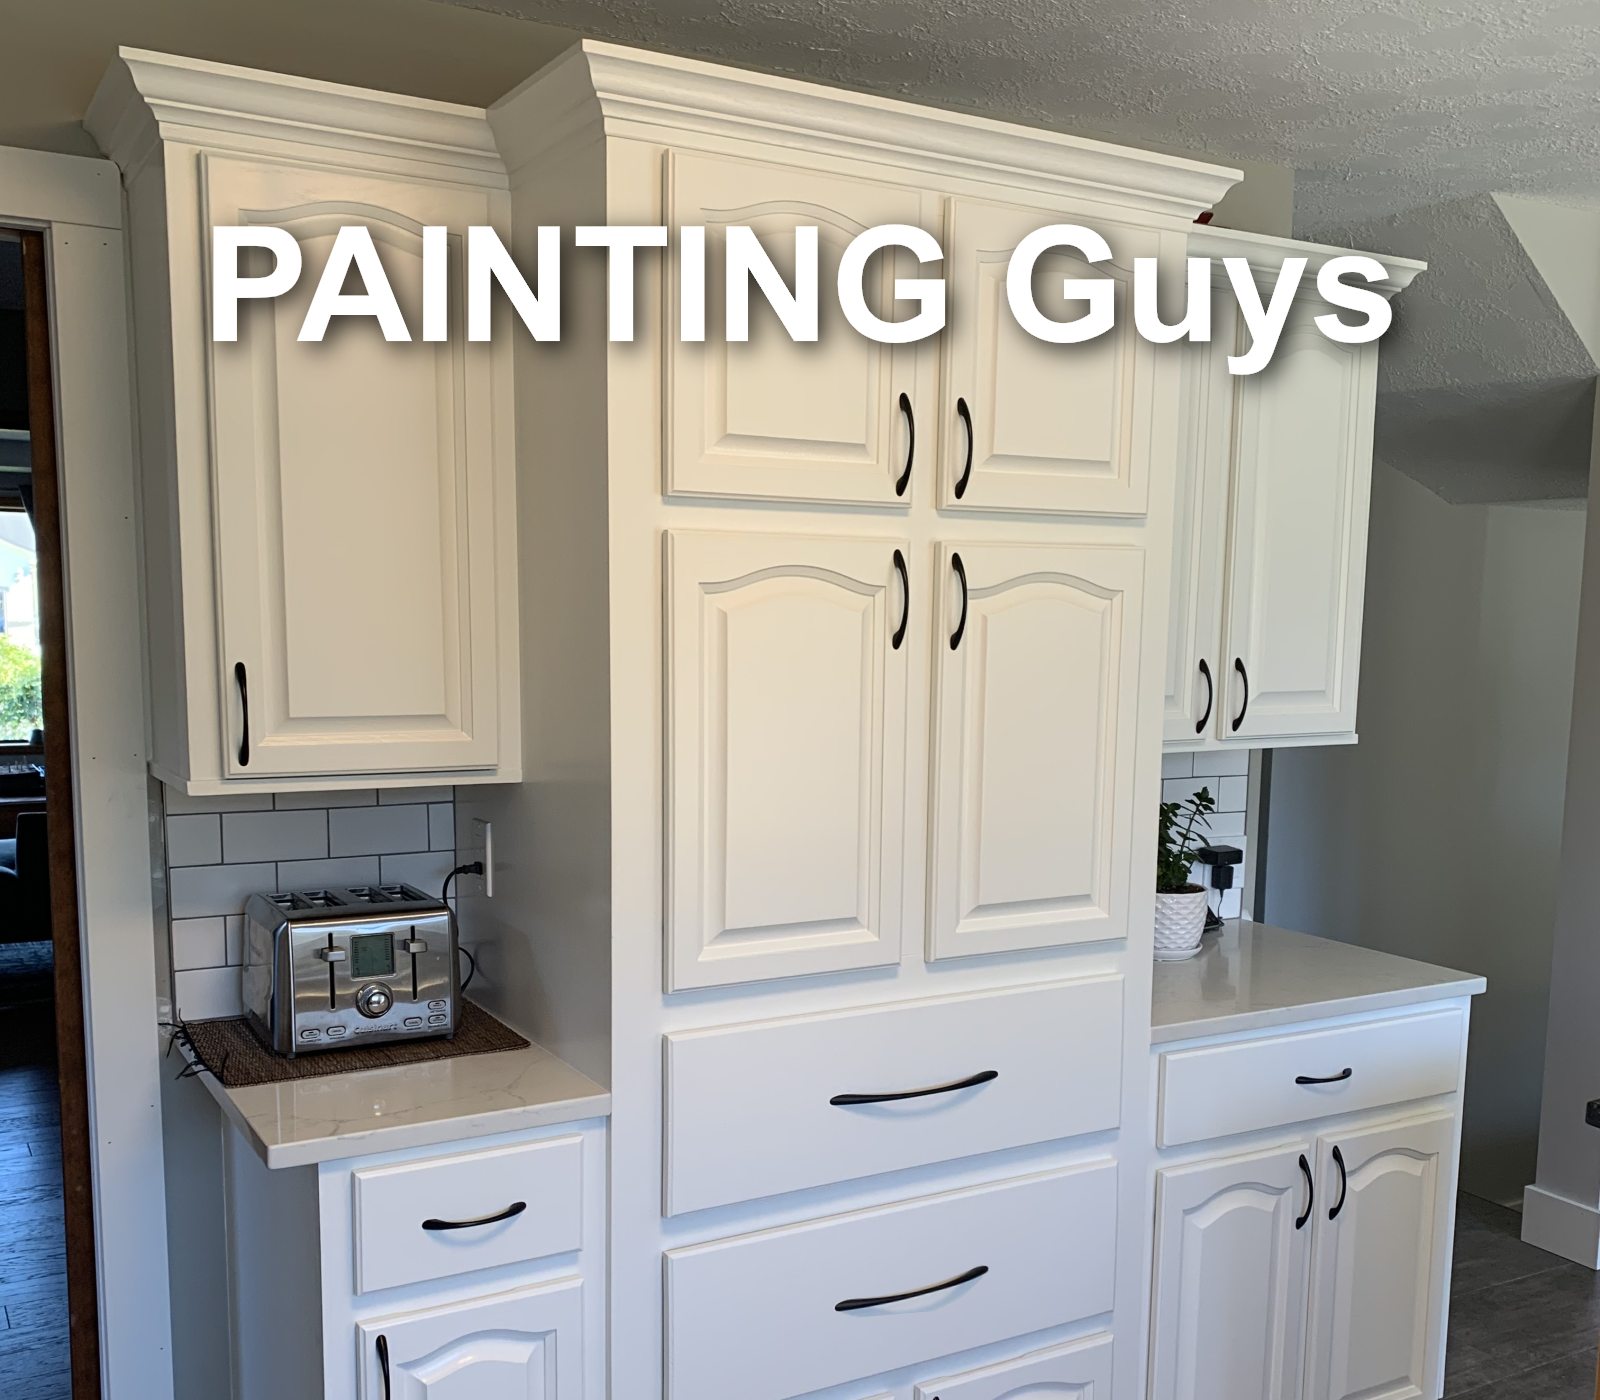
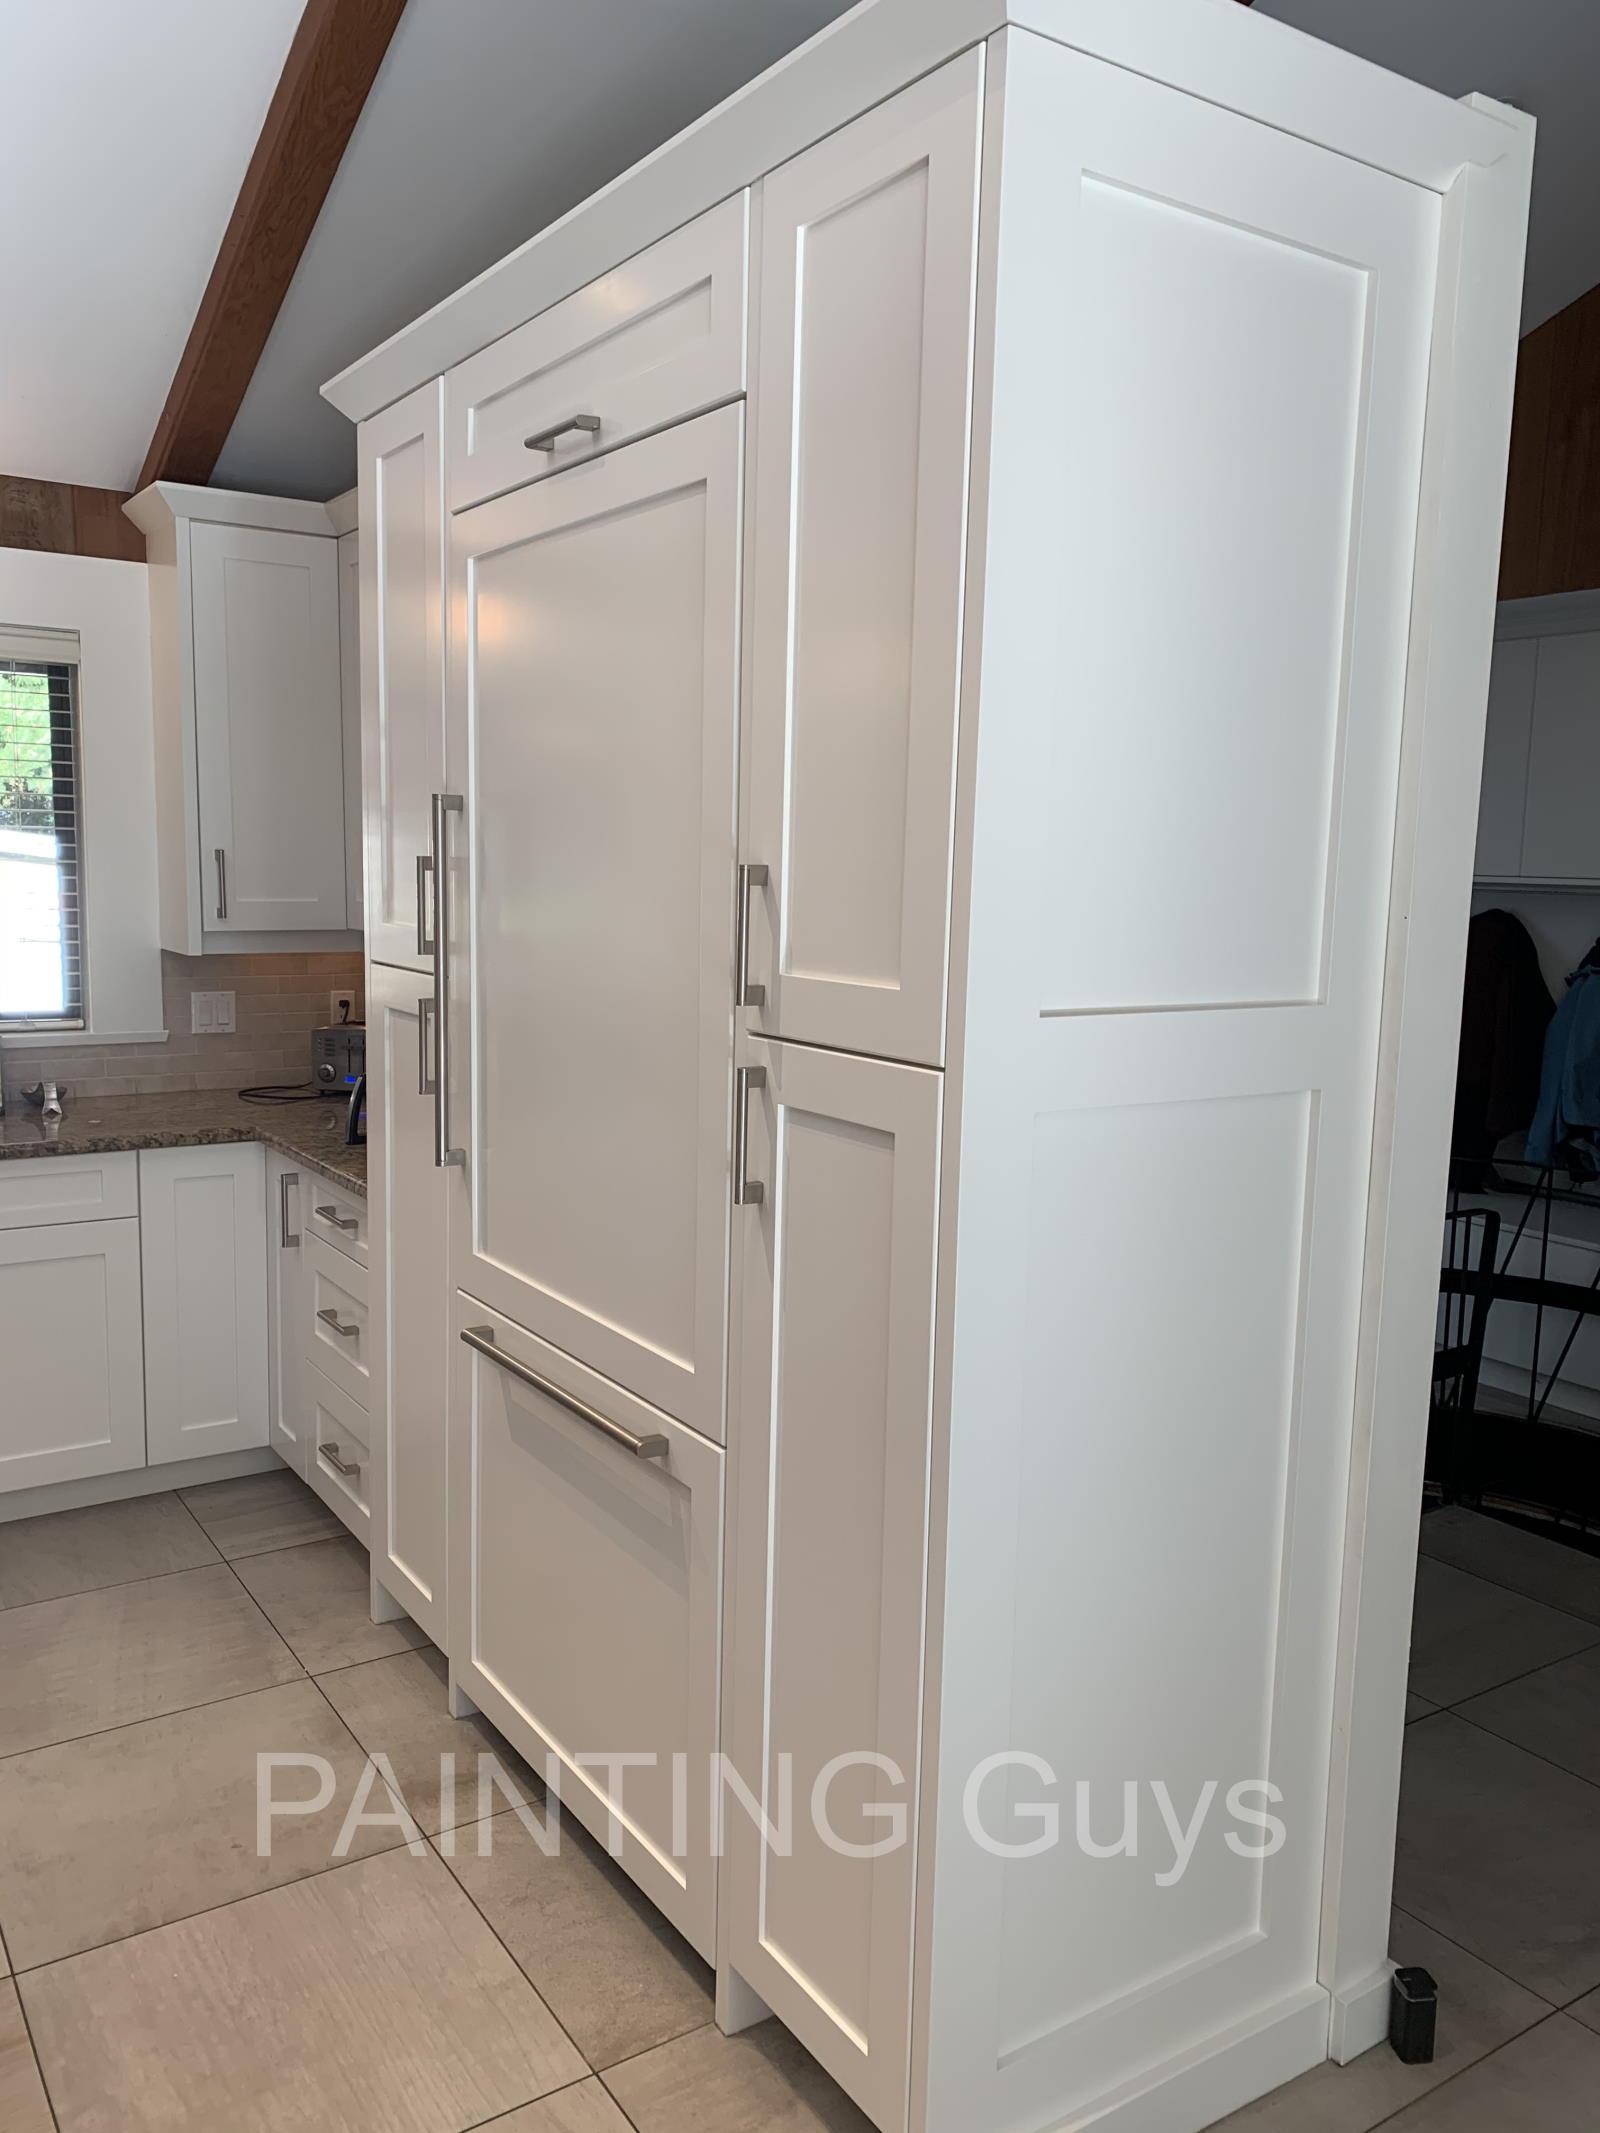
Hand painting sections to match the spray finishing
Part of this beautiful built-in refrigerator cabinet was spray painted and other sections of it were hand painted. Being able to seamlessly paint what cannot or should not be disassembled is why we have decades of thrilled clients throughout Western Canada.
Hand painting the boxes always looks superior. Tape lines on wood look cheap, tend to chip and bleed old stain between the frames and the cupboard shelves. Therefore, it makes no sense to spray cabinet boxes when you still need to paint these areas by hand.
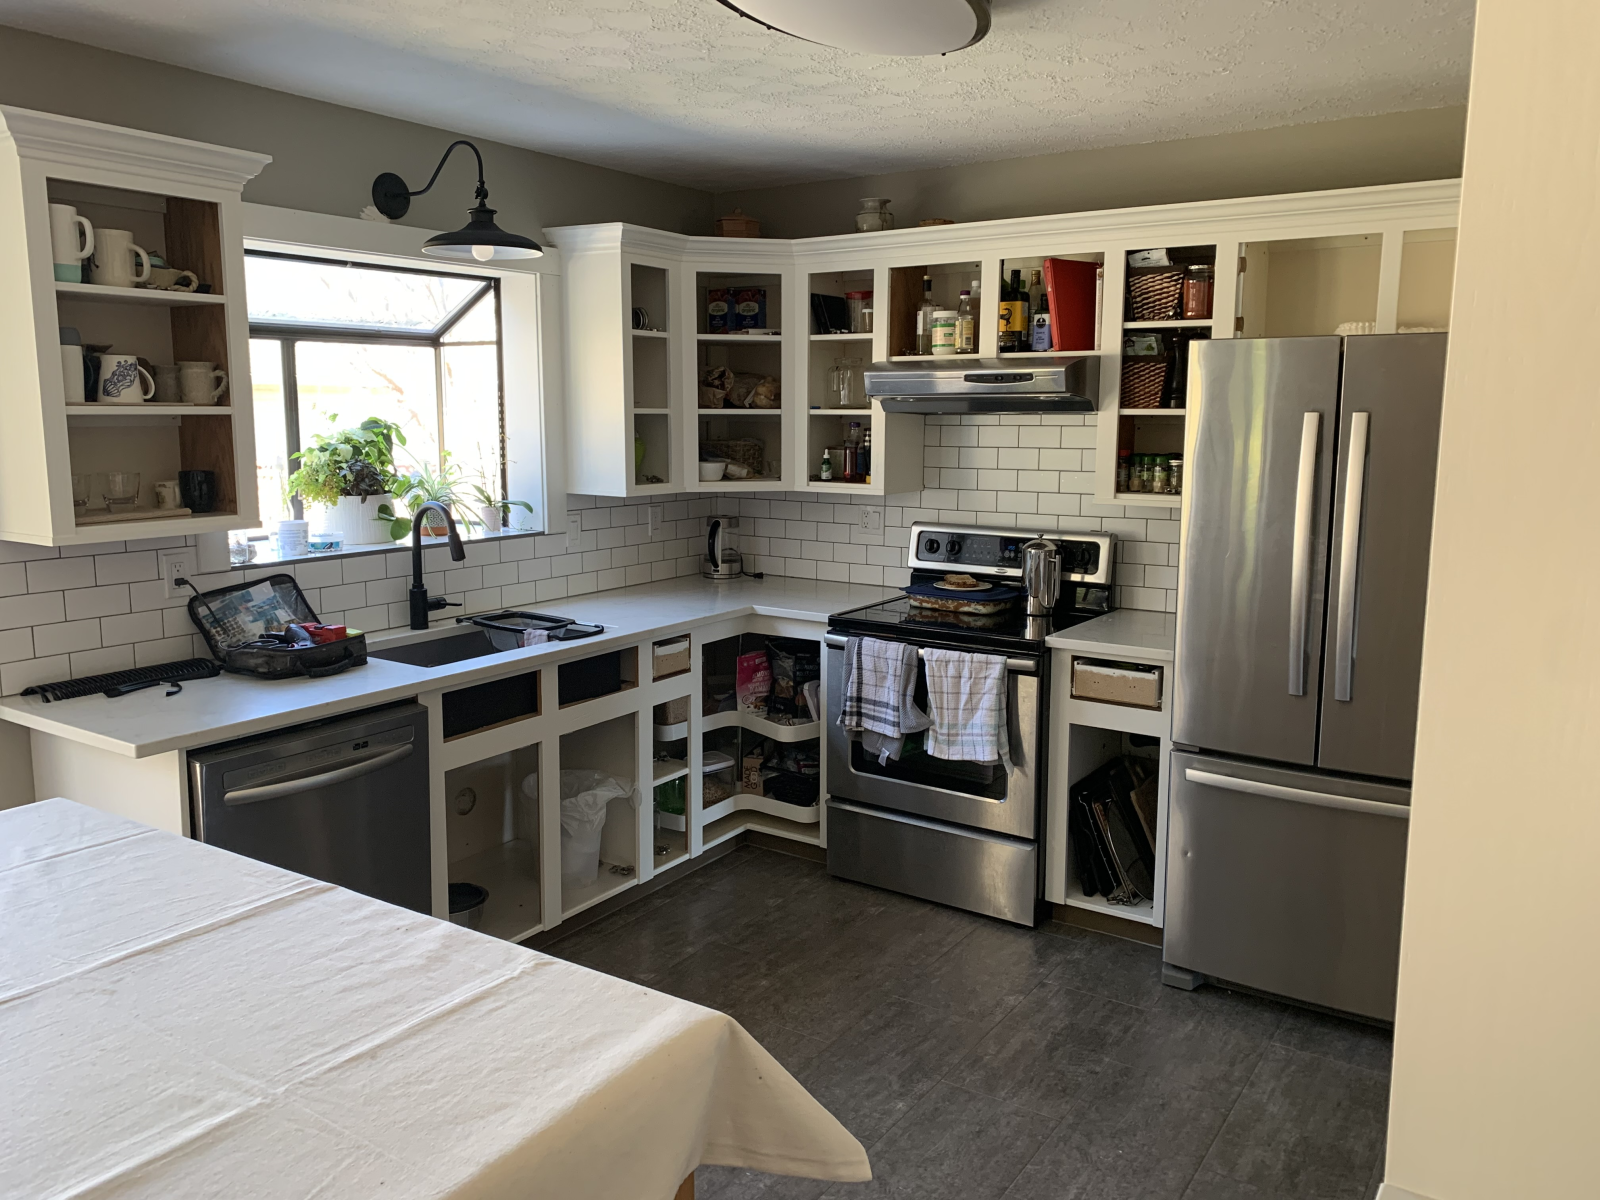
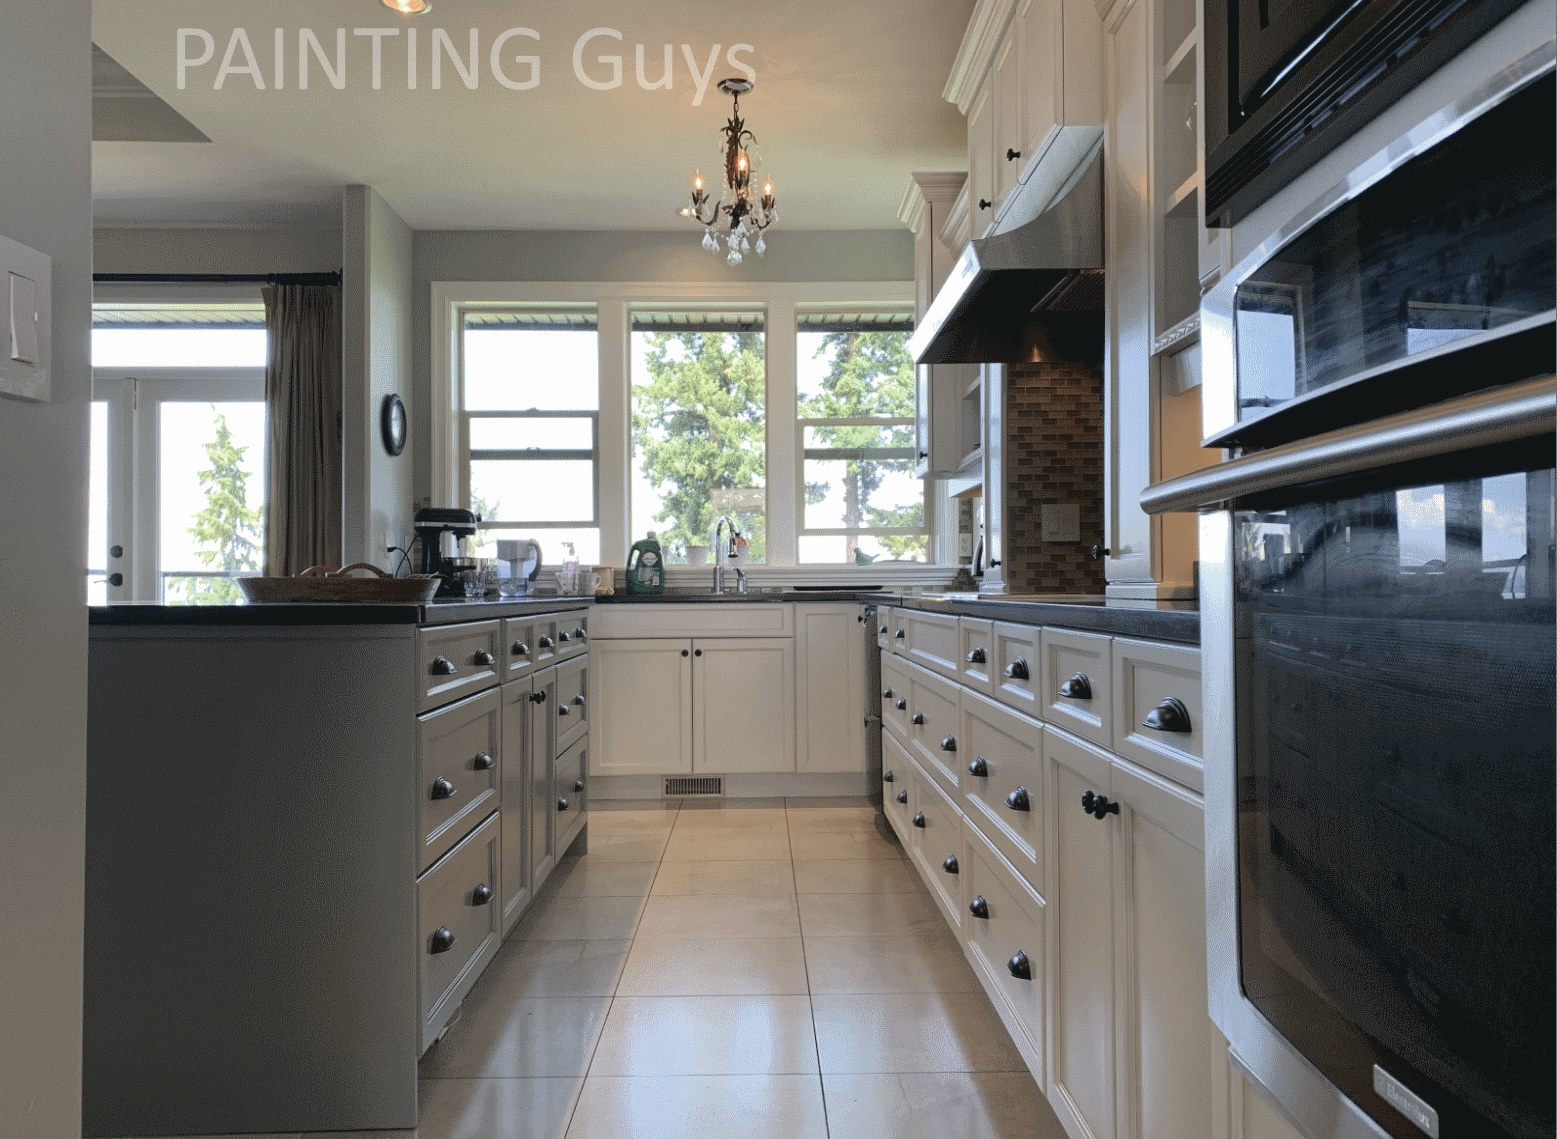
The Finished Product!
On the last day of the process we return back with the beautifully spray painted doors and drawers to complete the finish coating of the cupboards.
Beautiful kitchen cabinet painting