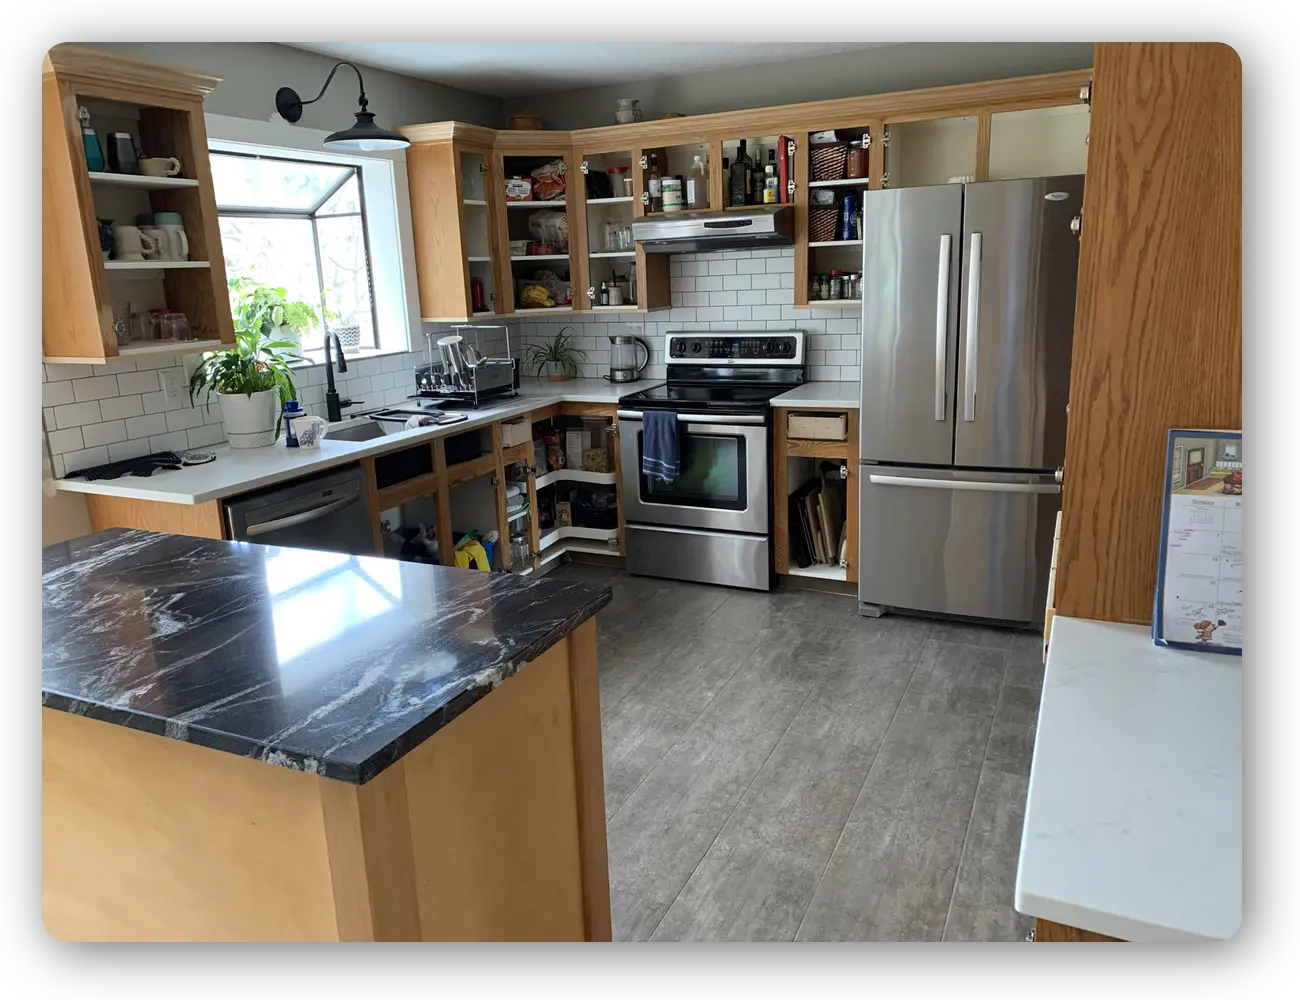
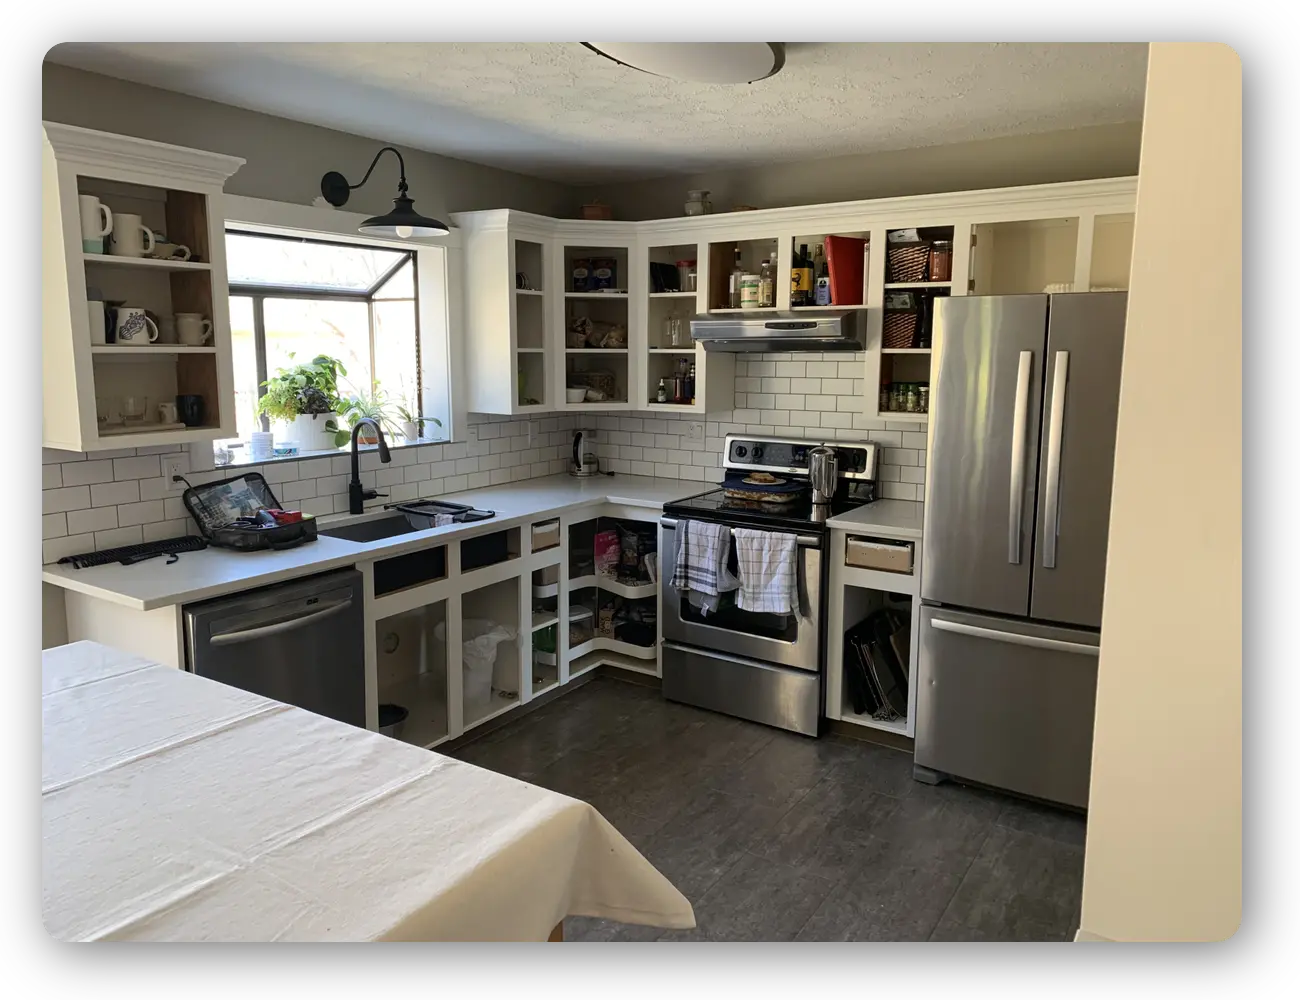
DIY Collaboration Guide:
Feel free to ask any questions at any time. Our goal is to help clients save money through a mutual collaboration process.
Main Focus
- The most visual parts of kitchen cabinet painting are the doors and drawer fronts.
- Painting the boxes is time-consuming but relatively simple compared to spraying and making the doors and drawers look new again.
Options to Save Money
- Option 1: Save $300 or more by disassembling and reassembling only.
- Option 2: Save $700 or more by painting everything except the doors and drawers.
Tools and Materials Needed
- Stable step ladder or stool
- Medium grit sanding sponge
- 2 or more 10-mil high-density sleeves (rollers) for side panels
- 2 or more mini rollers for face frames
- 2 or more brushes for detail and cutting in
- Paint tray(s)
- Rags
- DAP Drydex and DAP 230 caulking
- Vacuum
- Drop-sheet
- Screwdriver
- Painter's tape
- De-greaser (only where needed)
- Primer and paint (to be determined)
Time Expectation
- The time expected to paint your face frames, trim, and panels is 3 to 4 days.
Steps to Paint Drawer Fronts and Boxes
- Preparation:
- Clear out the drawers and remove any hardware like knobs or handles.
- Sand the drawer fronts thoroughly with a medium grit sanding sponge until you see dust forming. This ensures the primer adheres well.
- Use an air compressor to blow away any remaining dust or particles.
- Masking and Wrapping:
- Mask off the edges of the drawer fronts where they meet the box using painter's tape.
- Wrap the inside of the drawer box with plastic sheeting, old sheets, or newspaper to protect it from the spray paint. Secure the wrapping with tape to ensure it stays in place.
- Shellac Primer:
- Apply a shellac-based primer to the drawer fronts. Shellac provides excellent adhesion and blocks stains.
- Allow the shellac primer to dry completely according to the manufacturer's instructions.
- Spray Painting with HVLP Spray Gun:
- Prepare your HVLP spray gun according to the manufacturer's instructions. Fill it with high-quality acrylic paint.
- Spray the first coat of paint on the drawer fronts, holding the spray gun at a consistent distance and using smooth, even strokes.
- Allow the first coat to dry completely before applying additional coats. Two to three coats are usually sufficient.
- Finishing Touches:
- Once the paint is completely dry, carefully remove the masking tape and wrapping.
- Reattach any hardware you removed earlier.
- Face Frames and Panels:
- Thoroughly clean all areas of grease and grime, especially around the stove. Degreasers may be necessary.
- Lightly sand and scuff everything with a medium grit sanding sponge.
- Dust and vacuum everything, including cracks.
- Prime everything using the appropriate brush and fine nap rollers. High-quality bonding primer is essential.
- Fill in all visible cracks and damages using caulking for seams and Drydex for nicks on flat areas.
- Once dry, use matching high-quality Satin or Semi finish paint used for the cabinet doors.
By following these steps, you should achieve a professional-looking finish while keeping the drawer boxes protected. Enjoy your painting project!
Feel free to reach out if you have any questions.
Image
Image
Call or text: