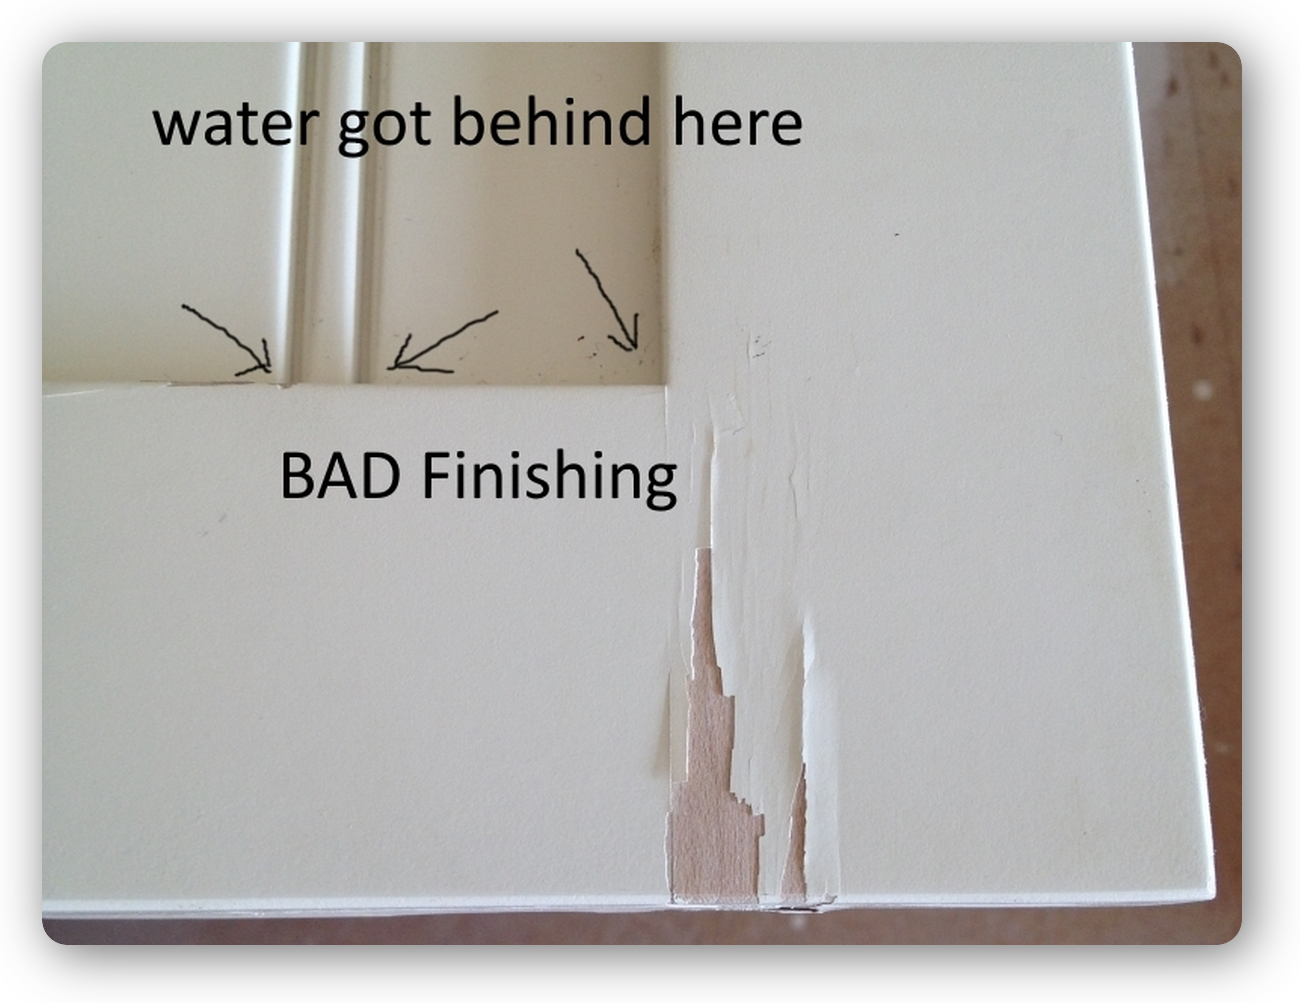
Repairing Water Damaged Cabinets
Water damage can be a serious issue, especially if new cabinets aren't properly primed or sealed between the seams. Here's how to address and repair water-damaged cabinets:
Step 1: Assess the Damage
- Inspect the cabinets to identify all areas affected by water damage. Look for swelling, discoloration, or softened wood.
Step 2: Drying
- Thoroughly dry out the cabinets using fans or a dehumidifier. This step is crucial to prevent further damage and mold growth.
Step 3: Sanding
- Sand down the damaged areas to remove the finish and any swollen wood. This will create a smooth surface for repair.
Step 4: Repairing
- Use wood filler or epoxy to repair any cracks, holes, or gaps caused by the water damage. Allow it to dry completely, then sand it smooth.
Step 5: Priming
- Apply a high-quality primer to the repaired areas. Make sure the seams are clean of any dust, and prime between the seams to seal these vulnerable areas and prevent future water infiltration.
Step 6: Caulking
- After priming, use high-quality caulk on cupboard doors below the sink or any areas where water can seep into cracks. Be sure to push the caulk deep between the seams to prevent it from coming loose or allowing any water to seep in.
Step 7: Painting or Staining
- Once the caulk is dry, paint or stain the cabinets to match the existing finish. This will restore the appearance of the cabinets and provide an additional protective layer.
By following these steps, you can effectively repair and protect your cabinets from water damage. If you need more detailed guidance or have specific questions, feel free to reach out!
Call or text:


Add new comment